
How to Hide LED Strip Lights?
2025-11-25

How to Hide LED Strip Lights?

How to Hide LED Strip Lights: A Comprehensive Guide to Seamless, Invisible Illumination

LED strip lights have revolutionized home and commercial lighting. They’re energy-efficient, flexible, long-lasting, and capable of delivering stunning ambient or functional illumination. But one of the biggest aesthetic challenges many designers and DIY enthusiasts face is how to hide the LED strips themselves while showcasing only their beautiful glow. After all, the magic lies in the light—not the hardware emitting it.
In this comprehensive guide, we’ll walk you through the most effective and creative methods to conceal LED strip lights seamlessly in any space. Whether you're renovating a kitchen, designing a cozy bedroom, or building a modern media room, these techniques will help you achieve that coveted “invisible light” effect—clean, minimal, and undeniably sophisticated.
Why Hide LED Strip Lights?
Cove Lighting: The Classic Ceiling Trick
Under-Cabinet Lighting: Kitchen & Workspace Magic
Recessed Channels & Aluminum Profiles
Behind Furniture or Architectural Elements
Staircase & Step Lighting
Floor-Level Cove Lighting (Toe-Kick Lighting)
Concealing Wiring: The Final Touch
Material & Product Recommendations
Common Mistakes to Avoid
Final Thoughts: Invisible Light, Maximum Impact
FAQ: Common Questions About Hiding LED Strip Lights
Conclusion

Why Hide LED Strip Lights?
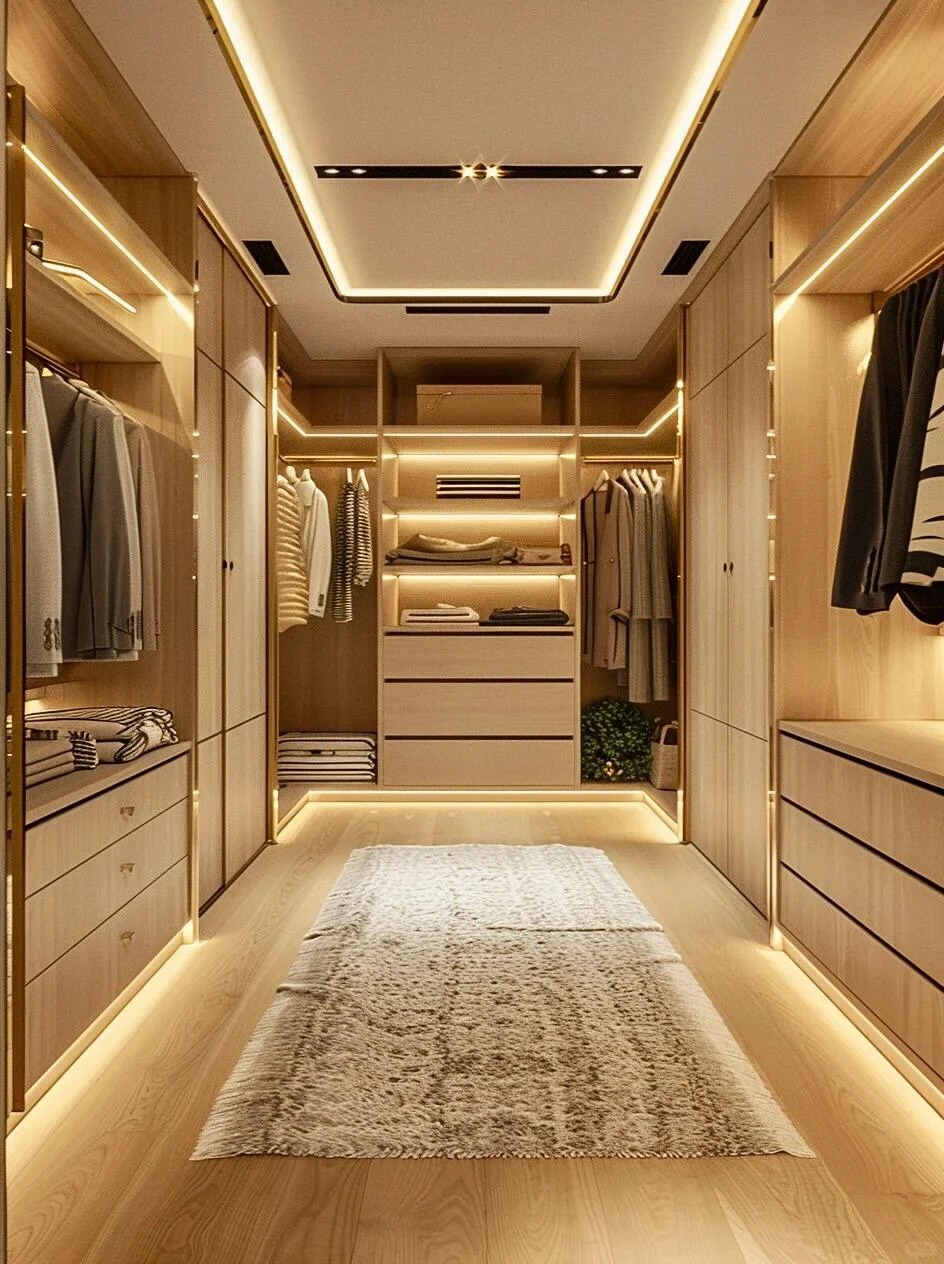
Why Hide LED Strip Lights?
Before diving into the how, it’s important to understand the why. Properly hidden LED strips offer several advantages:
  • Aesthetic Minimalism: Hidden lighting creates a clean, uncluttered look by removing visible fixtures or wiring.
  • Enhanced Ambiance: Indirect lighting softens shadows and reduces glare, creating a more comfortable and inviting environment.
  • Architectural Emphasis: Concealed strips can highlight architectural features (e.g., coves, ledges, or crown molding) without drawing attention to the light source.
  • Professional Finish: Well-hidden LED strips elevate the perceived quality of a space, mimicking high-end commercial or luxury residential designs.
Now, let’s explore the top methods to hide your LED strips effectively.

Cove Lighting: The Classic Ceiling Trick

Cove lighting is one of the oldest and most elegant techniques for hiding LED strips. It involves installing the LED strip behind a horizontal ledge or crown molding near the ceiling, allowing light to bounce off the ceiling and diffuse softly into the room.
How to Do It:
  • Install crown molding with a downward-facing lip, or create a custom cove using drywall or wood.
  • Attach the LED strip to the top surface of the ledge, facing upward toward the ceiling.
  • Ensure the ceiling is smooth and painted in a light, matte finish to maximize light diffusion.
Best For: Living rooms, bedrooms, and hallways where you want soft, ambient overhead lighting without visible fixtures.
Pro Tip: Use high-CRI (Color Rendering Index) LED strips (90+ CRI) for the most natural-looking light that complements your interior finishes.

Under-Cabinet Lighting: Kitchen & Workspace Magic

Under-Cabinet Lighting: Kitchen & Workspace Magic
Under-cabinet LED strips are a staple in modern kitchens, but they’re often poorly installed—either too bright, causing glare, or visibly protruding. The key to hiding them lies in thoughtful placement and diffusion.
How to Do It:
  • Choose ultra-thin LED strips (preferably <3mm thick) to fit flush under cabinets.
  • Install the LED strip as far back as possible under the cabinet lip, so the diodes aren’t directly visible when you’re standing at the counter.
  • Use an LED channel with a frosted diffuser to soften the light and eliminate hotspots.
  • Ensure the channel is mounted securely to avoid sagging or gaps.
Best For: Kitchens, home offices, and vanity areas where task lighting is needed without visual distraction.
Pro Tip: Opt for warm white (2700K–3000K) for kitchens to create a welcoming atmosphere, and consider dimmable controllers for flexibility.

Recessed Channels & Aluminum Profiles

Aluminum LED channels (also called extrusions) aren’t just heat sinks—they’re design tools. Recessed channels allow you to embed the LED strip flush into walls, ceilings, or furniture.
How to Do It:
  • Cut a precise groove in drywall, wood, or cabinetry using a router or saw.
  • Insert a recessed aluminum channel into the groove.
  • Slide the LED strip into the channel and snap on a frosted or opal diffuser cover.
  • Paint the channel to match the surrounding surface for a truly invisible finish.
Best For: Built-in shelves, media consoles, floating desks, and architectural feature walls.
Pro Tip: Use corner channels or flexible mounting clips for seamless bends around edges or curves.

Behind Furniture or Architectural Elements

Behind Furniture or Architectural Elements
Sometimes the simplest solution is the most effective. Mounting LED strips behind furniture or structural features can create dramatic silhouettes and floating effects.
Examples:
  • Behind a headboard: Install strips along the top edge of a bed frame or headboard to cast a gentle upward glow.
  • Under floating shelves: Hide strips on the underside of shelves to illuminate displayed objects without revealing the source.
  • Behind a TV or media console: Create bias lighting to reduce eye strain and enhance viewing contrast.
How to Do It:
  • Use double-sided 3M VHB tape or mounting clips to secure LED strips.
  • Ensure the furniture has a slight overhang or lip to block direct line-of-sight to the LEDs.
  • Keep wiring concealed using cable management channels or in-wall conduits.
Best For: Bedrooms, entertainment areas, and retail displays.
Pro Tip: For TV bias lighting, match the color temperature to your screen’s white point (usually around 6500K for daylight balance).

Staircase & Step Lighting

Staircase & Step Lighting
Illuminating stairs with hidden LED strips enhances safety while adding a futuristic, sculptural quality to your staircase.
How to Do It:
  • Install LED strips in the vertical riser (the face of the step) or along the underside of the tread overhang.
  • Use recessed channels or custom-cut grooves for a flush finish.
  • Choose warm white for residential stairs (to avoid a “hospital” feel) and ensure even spacing for consistent illumination.
  • Connect to motion sensors for automatic activation at night.
Best For: Modern homes, lofts, and basements with open staircases.
Pro Tip: Use low-voltage (12V or 24V) systems with proper power injection every 5 meters to prevent dimming at the far end.

Floor-Level Cove Lighting (Toe-Kick Lighting)

Floor-Level Cove Lighting (Toe-Kick Lighting)
Common in high-end kitchens and bathrooms, toe-kick lighting hides LED strips at the base of cabinets, just above the floor.
How to Do It:
  • Install LED strips inside the toe-kick panel or within a recessed channel near the floor.
  • Angle the light slightly downward to avoid glare but ensure enough illumination for nighttime navigation.
  • Use warm white (2700K) to complement under-cabinet lighting.
Best For: Kitchens, bathrooms, and hallways used at night.
Safety Note: Ensure the installation doesn’t create tripping hazards or obstruct cleaning.

Concealing Wiring: The Final Touch

Even the best-hidden LED strip will look amateurish if wires are exposed. Here’s how to keep everything tidy:
  • Use in-wall wiring kits (listed for in-wall use, such as UL-certified low-voltage cables).
  • Route wires through walls or baseboards using fish tape and access holes.
  • Employ wireless controllers or smart hubs (like Philips Hue or WLED) to minimize visible control boxes.
  • Hide power supplies in cabinets, closets, or behind false panels.
Pro Tip: Always leave service loops (extra wire length) for future maintenance or adjustments.

Material & Product Recommendations

Not all LED strips are created equal. For invisible installations, prioritize:
  • High-density LED strips (e.g., 60 LEDs/meter or more) to reduce visible dots.
  • Flexible PCBs for tight curves and easy mounting.
  • IP20 or IP65 ratings, depending on location (IP65 for bathrooms or kitchens with moisture exposure).
  • Compatible diffusers: Frosted > clear for hiding diodes.
  • Quality adhesive backing: 3M VHB tape is industry standard.
Brands like ADLED Light, Philips Hue Lightstrip Plus, Govee RGBIC, Luminus, and HitLights offer reliable options with excellent diffused output.

Common Mistakes to Avoid

  • Over-brightening: Too much lumens in indirect applications cause glare and harsh reflections. Use dimmers!
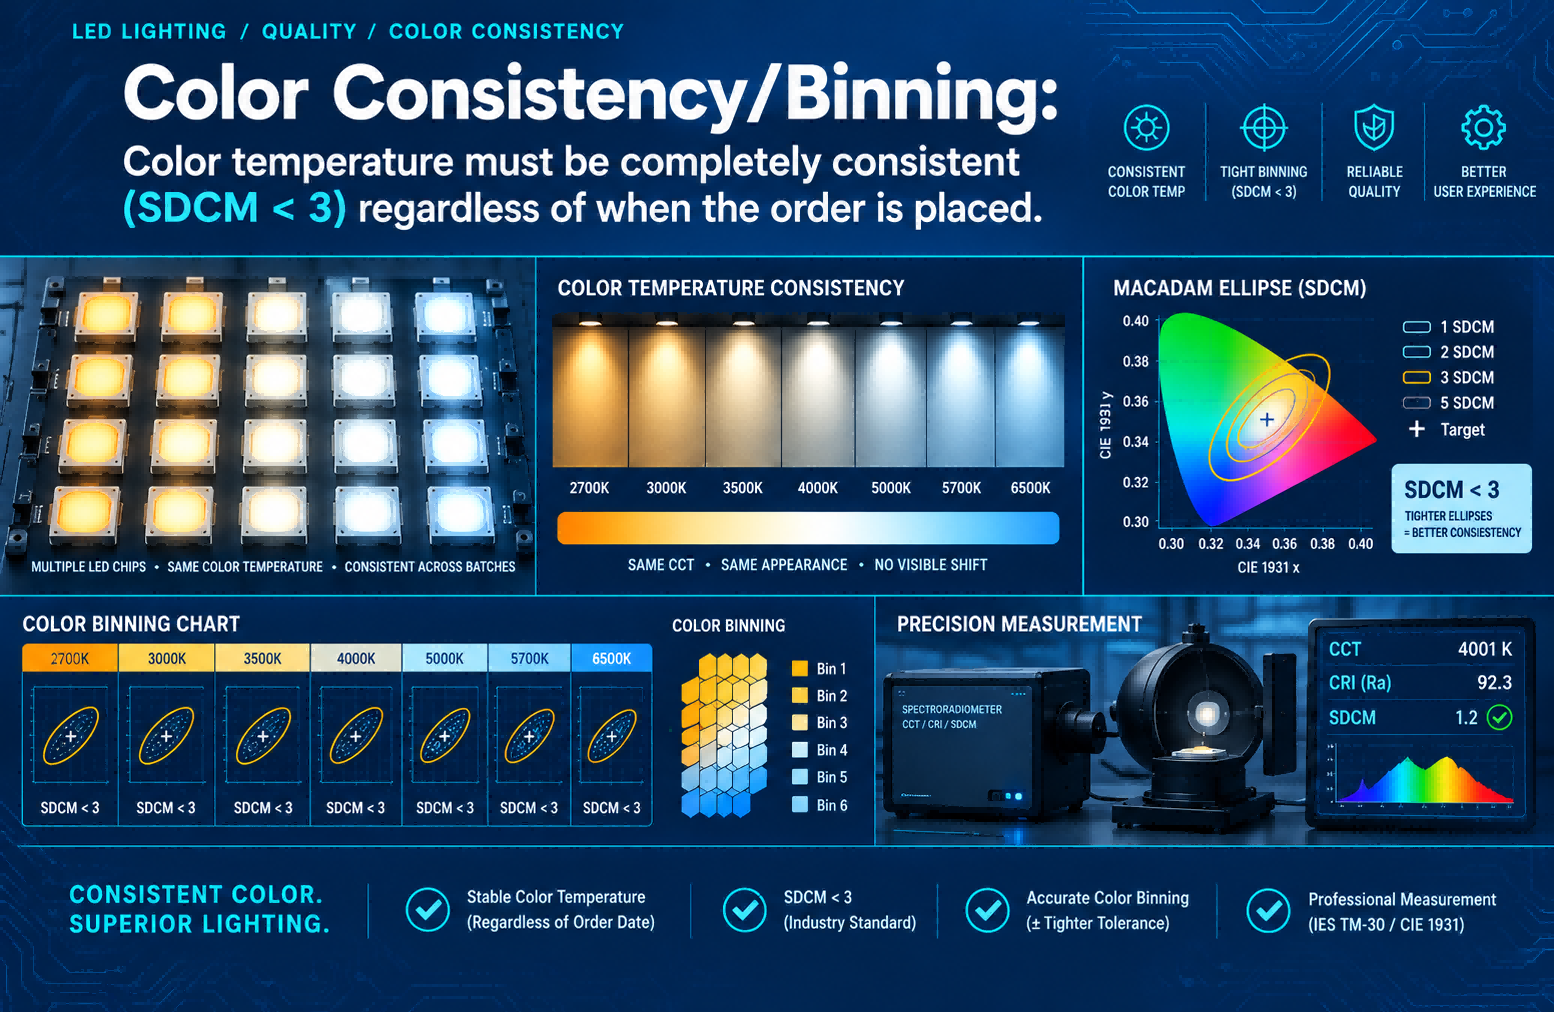
  • Ignoring color temperature: Mixing 2700K and 5000K LED strips in one room looks disjointed. Stick to one temperature per zone.
  • Poor diffuser choice: Clear covers show every diode. Always opt for frosted or opal.
  • Skipping heat management: Enclosed aluminum channels help dissipate heat and prolong LED life.
  • DIY without planning: Map your layout, calculate power needs, and test before final installation.

Final Thoughts: Invisible Light, Maximum Impact

Hiding LED strip lights isn’t about making them disappear—it’s about redirecting focus to the experience of light itself. When done right, concealed lighting transforms a space: it softens edges, adds depth, defines zones, and creates mood without a single visible fixture.
Whether you’re a homeowner, interior designer, or lighting enthusiast, mastering these concealment techniques will elevate your projects from functional to phenomenal. Remember: the best lighting is the kind you don’t notice—until it’s gone.
So grab your LED strips, channels, and diffusers—and start illuminating invisibly.

FAQ: Common Questions About Hiding LED Strip Lights

Q: Will hidden LED strips be bright enough?

A: Yes—if you choose high-lumen LED strips (e.g., ≥1200 lumens/meter) and install them to bounce light off reflective surfaces like matte white ceilings or walls. Indirect lighting often feels more comfortable and evenly distributed than direct fixtures.

Q: How do I prevent visible “dots” or individual LEDs?

A: Use high-density LED strips (60–120 LEDs per meter) and always pair them with a frosted or opal diffuser in an aluminum channel. Avoid clear covers, and position the LED strip out of direct line of sight.

Q: Can I install hidden LED strips in wet areas like bathrooms?

A: Yes—but only if the LED strips are rated IP65 or higher for water resistance, and all connections are properly sealed. Keep the power supply in a dry, ventilated area outside the wet zone.

Q: How can I hide the wiring neatly and safely?

A: Use low-voltage (12V/24V) systems and route wires through walls, baseboards, or ceiling cavities. For in-wall runs, use UL-listed low-voltage cable and consider professional installation to meet electrical codes.

Q: What color temperature should I choose for different rooms?

A: Warm white (2700K–3000K) is ideal for bedrooms and living rooms; neutral white (3500K–4000K) works well in kitchens and home offices; and cool white (6500K) is best for TV bias lighting to match screen white point.

Conclusion

The goal of hidden LED strip lighting is simple: see the light, not the source. With smart placement—like cove ceilings, under cabinets, recessed channels, or behind furniture—plus proper diffusion, consistent color temperature, and concealed wiring, you can create a seamless, glare-free glow that enhances architecture and mood. When done right, invisible lighting doesn’t just illuminate a room—it transforms it.
Contact ADLED for LED Strip Light