

2026-01-19
Stop Your LED Strips from Falling Down! The Ultimate Mounting Guide
Stop Your LED Strips from Falling Down! The Ultimate Mounting Guide
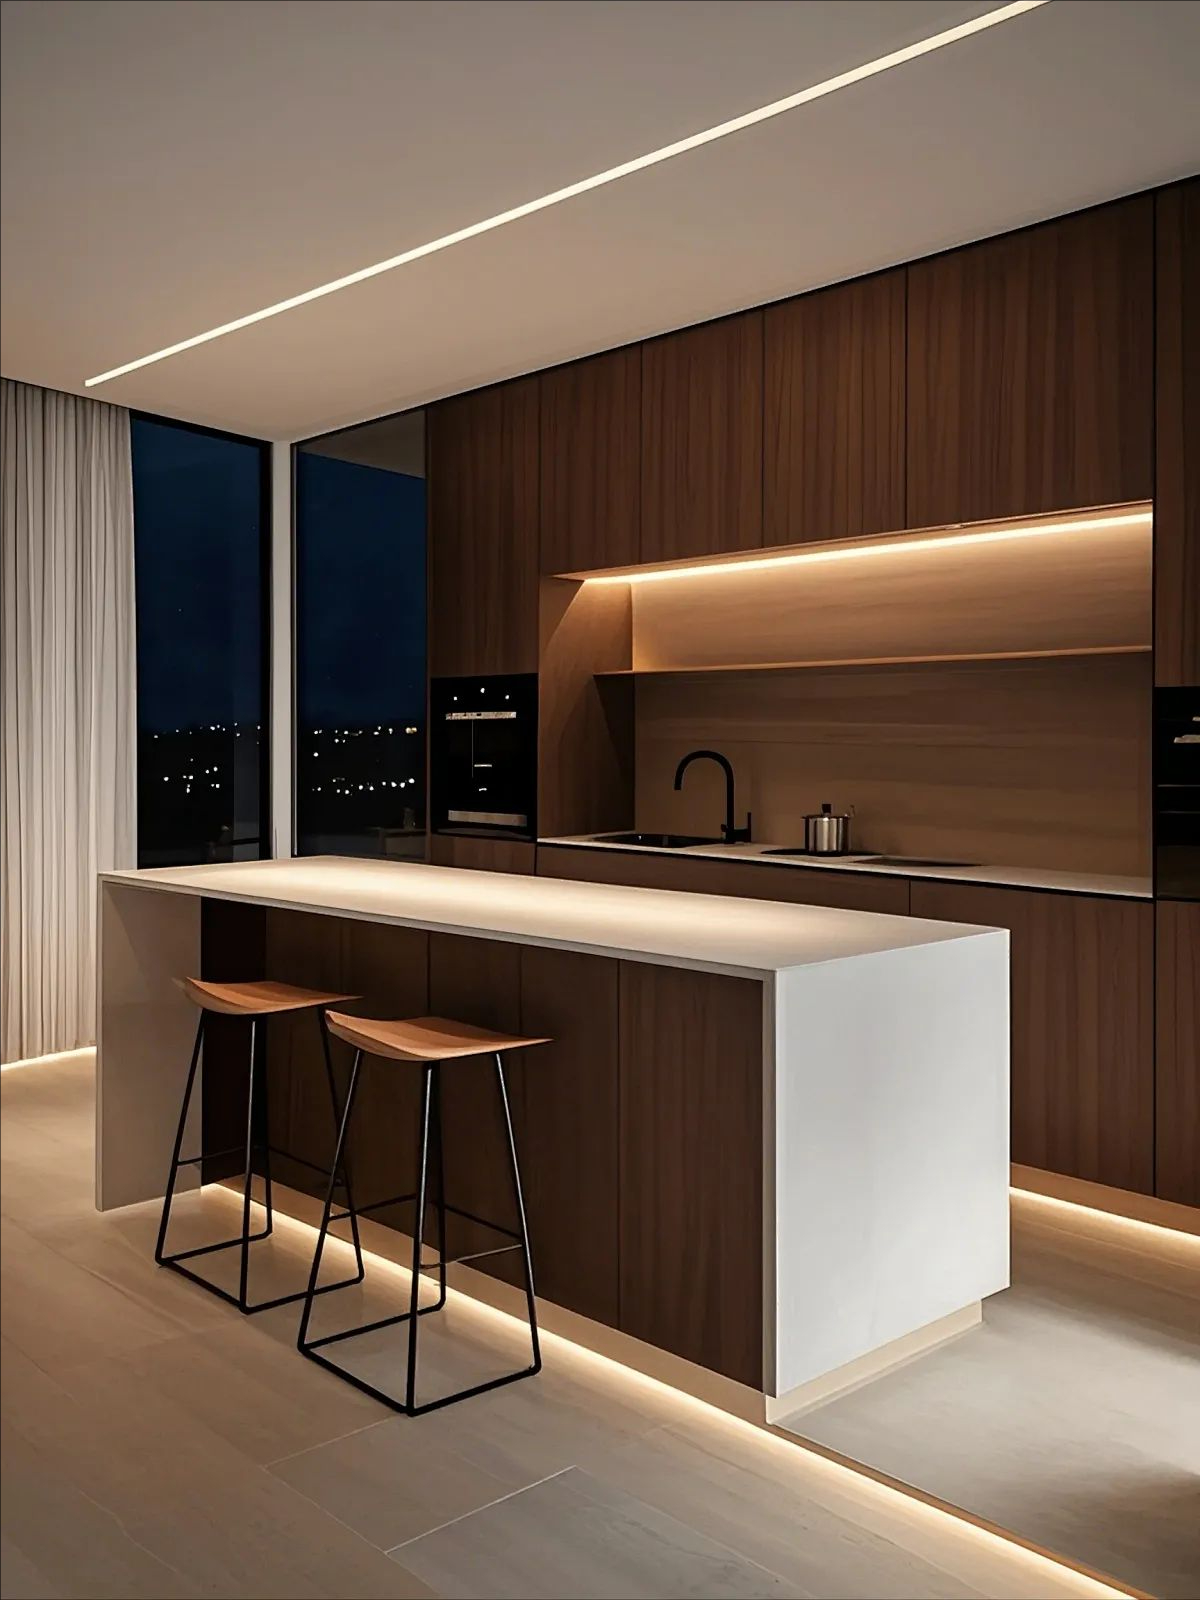
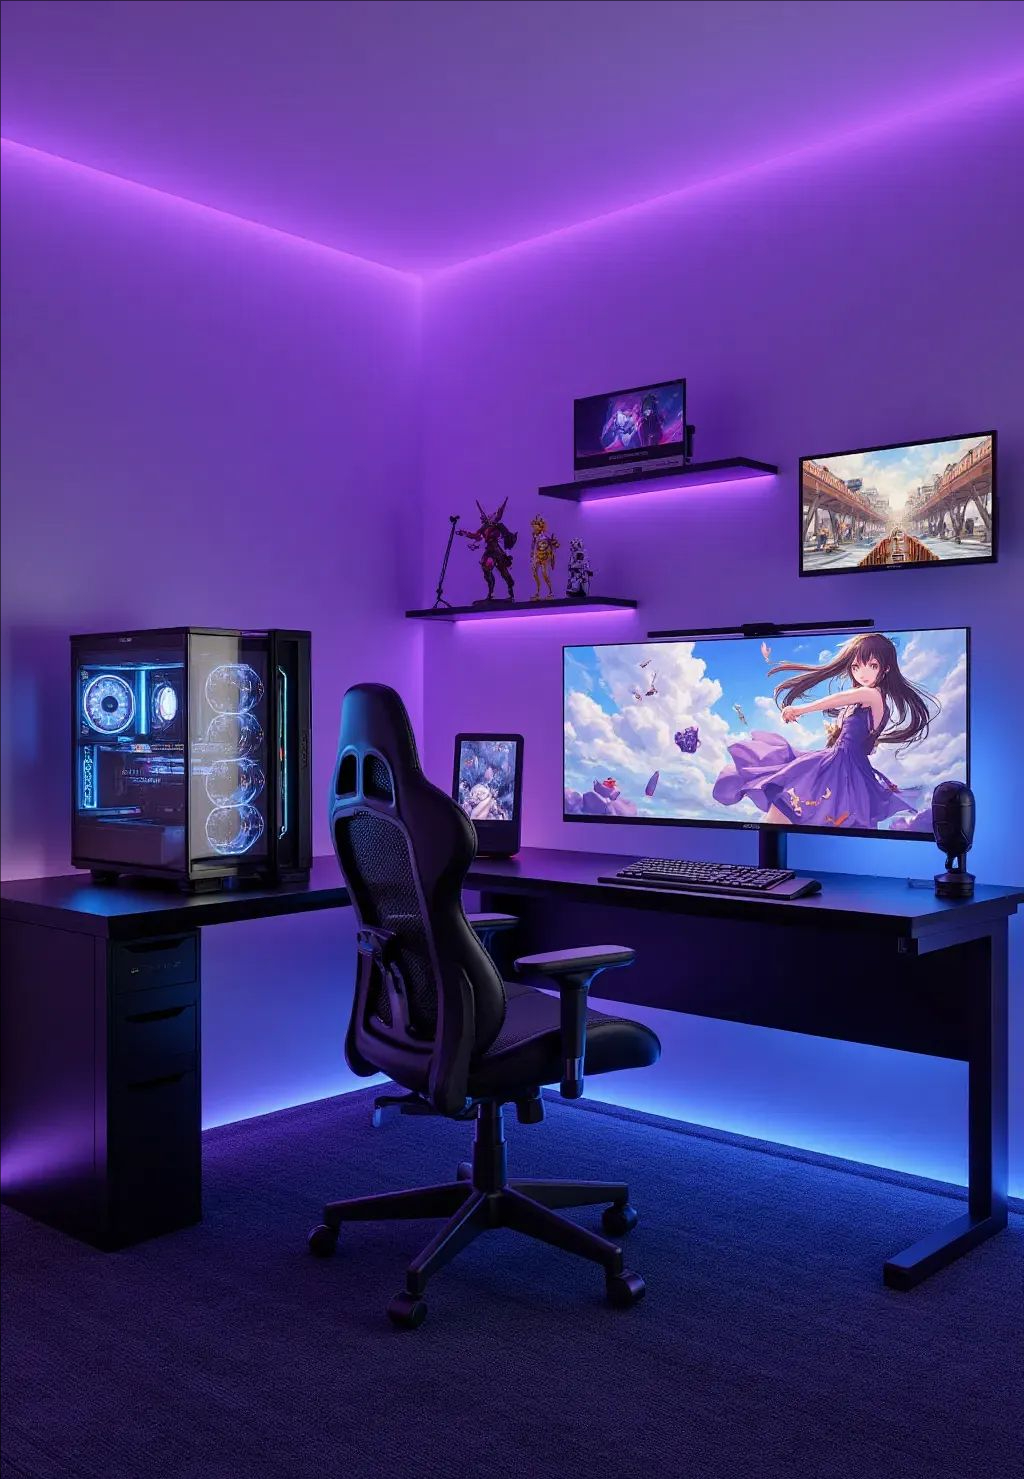
You meticulously plan your lighting project—a cozy backlight for your living room TV, a vibrant accent for your kitchen cabinets, or the perfect ambient glow for your gaming setup. You carefully peel, stick, and align your LED light strip, only to find it sagging, curling, or crashing to the floor a week later. If you've ever wondered, "Why do my LED strip lights keep falling off?" you are far from alone. The issue of an LED strip falling off is arguably the most common frustration in the DIY lighting world, turning a dream project into a sticky mess.
This widespread problem often stems from a mismatch between expectations and reality. The adhesive backing on most LED strips is designed for convenience, not permanence, and it fails when faced with less-than-ideal surfaces, environmental factors, or simple physics. But don't let another LED light strip falling off ruin your vision. This comprehensive guide is your solution. We will dissect the root causes of failure and provide proven, step-by-step methods for how to mount LED lights so they stay put for good. From choosing the right strong adhesive for lights to mastering surface preparation, this is the definitive resource on the best way to keep LED strips from falling off.
Chapter 1: Diagnosis – Why Your LED Strips Are Failing
Chapter 2: The Foundation – Surface Preparation is Everything
Chapter 3: Adhesive Arsenal – Choosing Your Weapon
Chapter 4: Mechanical Mastery – Beyond the Tape
Chapter 5: Application – The Art of the Perfect Stick
Chapter 6: Special Scenario Solutions
FAQ
Chapter 1: Diagnosis – Why Your LED Strips Are Failing
Before you can fix the problem, you need to understand it. The failure of that double sided adhesive tape for LED lights is not random; it's a science. Here are the primary culprits behind your falling LED strips:
Surface Enemies: Dust, Grease, and Texture
The most common mistake is applying a strip to an unprepared surface. Every speck of dust, invisible oil from your fingers, or layer of gloss paint acts as a barrier. The adhesive sticks to this barrier, not the surface itself. Over time, this weak bond gives way. Porous, textured, or uneven surfaces also prevent the adhesive from making full, intimate contact, drastically reducing its holding power.
Environmental Adversaries: Heat, Cold, and Humidity
LED strips themselves generate heat, which is the nemesis of most standard acrylic adhesives. Continuous heat softens the adhesive, causing it to slowly creep and lose grip—a process called "cold flow." Conversely, very cold environments can make adhesives brittle. Humidity and moisture can seep into the adhesive layer, breaking down its chemical composition, especially in bathrooms, kitchens, or outdoor settings.
The Physics of Failure: Weight, Tension, and Vibration
An LED strip reel has weight, especially heavier, high-density strips. When mounted horizontally on a wall or vertically, gravity exerts a constant peeling force on the adhesive. Any bend or corner creates internal tension that wants to straighten out, relentlessly pulling at the tape. Furthermore, surfaces like kitchen cabinets (which open and close) or vehicles create vibrations that mechanically fatigue the adhesive bond over time.
The Adhesive Itself: Stock Tape Limitations
The thin, gray foam tape included with most LED strips is a cost-effective general-purpose solution. It is not engineered for long-term durability on challenging surfaces. Its adhesive strength and resistance to environmental factors are limited. Relying on it for a permanent installation on anything other than a perfect, static surface is often a recipe for discovering how to keep LED light strips from falling off… the hard way.
Chapter 2: The Foundation – Surface Preparation is Everything
Your adhesive is only as good as the surface it’s stuck to. Skipping preparation is the #1 reason installations fail. Here is your non-negotiable pre-installation ritual:
Step 1: Degrease and Clean
Wipe down the entire installation area with a high-quality isopropyl alcohol (IPA) solution (70% or higher) and a clean, lint-free microfiber cloth. Avoid household cleaners like Windex or formula 409, as they often leave behind residues. IPA evaporates completely, leaving a perfectly clean, oil-free surface. This step alone can improve adhesion by over 50%.
Step 2: Abrade for Grip (For Non-Porous Surfaces)
If you are sticking to a smooth, non-porous surface like glass, glossy laminate, or painted metal, you need to create a "tooth" for the adhesive to grip. Lightly scuff the area with fine-grit sandpaper (220-grit or higher). You are not trying to remove material, just to eliminate the gloss and create microscopic grooves. After sanding, repeat the IPA cleaning in Step 1 to remove all dust.
Step 3: Prime for Power (The Pro Secret)
For the ultimate, industrial-strength bond, especially on tricky plastics or powder-coated metals, use a primer designed for adhesive tapes. Products like 3M's Primer 94 or Scotch-Weld Adhesion Promoter are brushed on the clean surface. They chemically modify the surface layer, creating an incredibly strong link between the adhesive and the substrate. This is the secret weapon for preventing an LED light strip falling off a car dashboard or outdoor fixture.
Chapter 3: Adhesive Arsenal – Choosing Your Weapon
When the stock tape fails, you need to upgrade your adhesive. Not all tapes are created equal. Here’s your guide to the strong adhesive for lights category:
The Gold Standard: 3M VHB (Very High Bond) Tape
For permanent, professional-grade installations, 3M VHB is the industry benchmark. It’s a thick, acrylic foam tape that absorbs vibration and conforms to slight imperfections. It creates a bond so strong it can replace rivets and welds. Look for 3M VHB 5952 (general purpose) or 4910 (for lower surface energy plastics). It’s the best double sided adhesive tape for LED lights on the market for heavy-duty applications.
The Flexible Contender: Polyurethane Foam Tape
This tape is more flexible and conformable than VHB, making it excellent for irregular surfaces or where some slight movement is expected. It has strong initial tack and good water resistance, making it a solid choice for outdoor or bathroom applications where moisture is a concern.
The Removable Option: High-Tack Poster Tapes
If you need a strong but non-permanent hold (e.g., for rental apartments), products like 3M's Command™ Poster Strips or Scotch™ Removable Mounting Squares can work. Their holding power is less than VHB, but they are designed to remove cleanly. Ensure the strip is very light and the surface is ideal.
Adhesive Transfer Tapes: For a Low-Profile Grip
These are rolls of pure adhesive (no foam carrier) on a wax paper liner. You apply it directly to the back of the LED strip. This is ideal if you want to add serious grip without increasing the thickness or profile of the strip. They require very precise, flat surfaces.
Adhesive Selection Quick-Reference Table
| Adhesive Type | Best For | Key Property | Durability |
|---|---|---|---|
|
3M VHB Tape
|
Permanent mounts, metal, glass, high heat/vibration
|
Very High Bond Strength, Vibration Damping
|
Excellent
|
|
Polyurethane Foam
|
Irregular surfaces, outdoor/damp environments
|
High Conformability, Water Resistance
|
Very Good
|
|
Adhesive Transfer Tape
|
Low-profile needs, perfectly flat surfaces
|
Pure Adhesive, Thin Application
|
Good
|
|
High-Tack Poster Tape
|
Light strips, temporary/removable installs
|
Strong but Clean Removal
|
Moderate
|
Chapter 4: Mechanical Mastery – Beyond the Tape
For the most challenging situations—heavy strips, high heat, constant vibration, or easily damaged surfaces—mechanical mounting is the definitive best way to keep LED strips from falling off. It removes adhesion from the equation entirely.
Solution 1: LED Aluminum Channels
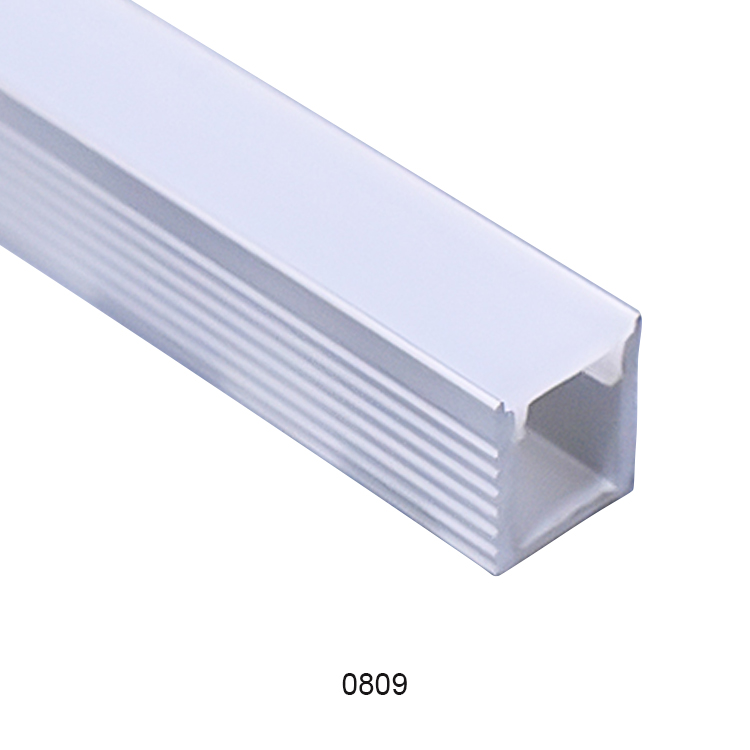
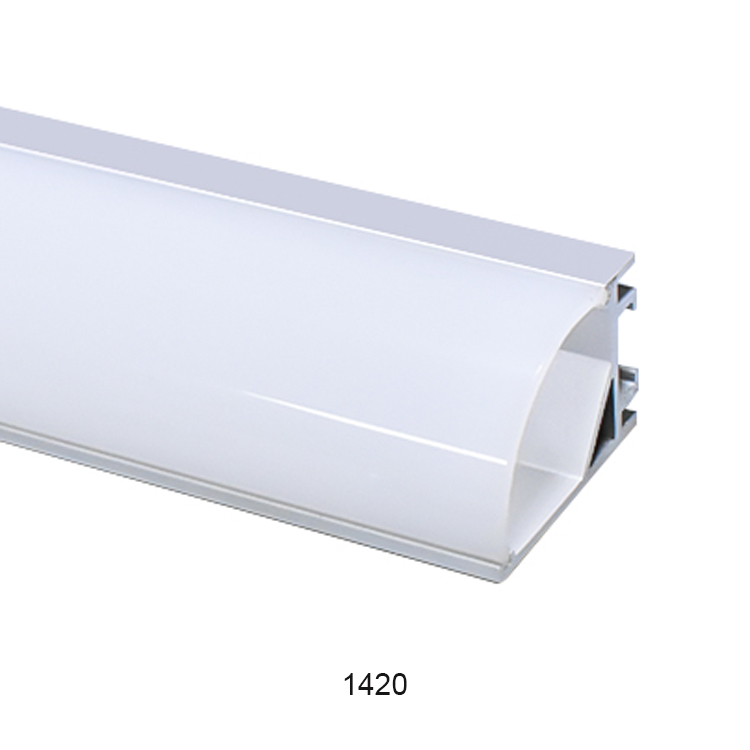

This is the professional's choice. Aluminum profiles (channels) house the LED strip, providing four critical benefits:
Mounting Surface: The channel is screwed or glued to the surface, and the strip is secured inside with adhesive or clips.
Heat Sink: Aluminum dissipates heat from the LEDs, dramatically extending their lifespan and preventing adhesive-killing heat buildup.
Light Diffusion: A frosted cover creates a smooth, professional light gradient, hiding individual LED dots.
Protection: The channel shields the strip from dust, moisture, and physical damage.
Channels come in various shapes (straight, corner, flexible) for any application, from under-cabinet lighting to coves.
Solution 2: Mounting Clips and Brackets
Small plastic or silicone clips snap over the LED strip and are secured with a screw or nail. They are inexpensive, effective, and allow for easy strip removal or repositioning. They are perfect for running strips along walls, ceilings, or eaves where you can place a screw every few feet to bear the load.
Solution 3: The Hybrid Approach: Adhesive + Mechanical
For absolute certainty, combine methods. Use a high-quality tape to initially hold the strip in perfect alignment, then add mounting clips or brackets at key stress points (ends, corners, middle of long runs) to carry the mechanical load. This redundancy ensures that even if the adhesive is stressed, the strip cannot fall.
Chapter 5: Application – The Art of the Perfect Stick
You have the right tape and a perfectly prepped surface. Now, application technique determines your final success in how to mount LED lights permanently.
The Technique:
Measure and Cut: Plan your entire run. Use the designated cut lines on the strip.
Pre-Stick the Tape: If using new tape, apply it to the back of the LED strip first. Use a roller or firm pressure to ensure it's fully bonded to the strip itself.
Peel and Place: Peel only a few inches of the liner at a time. Align the starting point perfectly, press it down firmly, and then slowly work your way along the run, peeling the liner as you go, applying continuous pressure. Avoid stretching the strip.
The Final Press: Once the entire strip is placed, take a J-roller (a hard rubber roller used for laminates) or a smooth block of wood and apply firm, even pressure along the entire length of the strip. This step is critical to activate the adhesive and ensure 100% surface contact.
Cure Time: Respect the adhesive's cure time. Most high-strength tapes reach 50% strength in minutes but require 24-72 hours to reach full ultimate strength. Avoid stressing the bond during this period.
Chapter 6: Special Scenario Solutions
For Corners and Bends: Never bend the strip sharply at a 90-degree angle on its own. This creates immense tension. Use a solderless corner connector or route the strip in a gentle, wide curve. In a channel, use a pre-made corner piece.
For Uneven or Textured Surfaces (like Brick): Mechanical mounting is best. If you must use adhesive, choose an extremely thick, conformable foam tape (like some polyurethane variants) that can fill the voids. A primer is essential.
For High-Temp Areas (Near Ovens, Engines): Standard adhesives will fail. Use a high-temperature specific tape (often silicone-based) or, far better, use an aluminum channel (which acts as a heat sink) secured with mechanical fasteners or high-temp epoxy.
For Easy Removal/Future Changes: Plan for it from the start. Use mounting clips or an aluminum channel that is screwed down. The strip sits inside, easy to pop out. If using tape, the high-tack removable options are your best bet.
Conclusion: Your Lights, Finally Secure

The frustration of an LED strip falling off is a solvable problem. It's not about sticking harder; it's about sticking smarter. Move beyond the weak stock tape and understand that successful mounting is a system:
Diagnose the surface and environment.
Prepare the surface with religious dedication (IPA is your holy water).
Select an adhesive or mechanical solution matched to the challenge.
Apply with meticulous technique and pressure.
By investing an extra 30 minutes in preparation and using the right materials—whether it's a roll of 3M VHB, a set of aluminum channels, or a bottle of primer—you transform a temporary hack into a permanent, professional-grade installation. Your LED strips will provide flawless, reliable light for years to come, never leaving you to wonder again how to keep LED light strips from falling off. Now, go light up your world—confidently.
FAQ
1. Why do my LED strip lights keep falling off immediately?
This is almost always due to poor surface preparation. Dust, grease, or moisture create a barrier. The solution is to thoroughly clean the surface with isopropyl alcohol before applying any tape.
2. What is the absolute strongest adhesive for LED strips?
For a permanent, professional hold, 3M VHB (Very High Bond) foam tape is considered the strongest. It can handle vibration, temperature changes, and holds on many surfaces where standard tapes fail.
3. Can I just use super glue instead of double-sided tape?
It's not recommended. Super glue (cyanoacrylate) creates a brittle bond, can damage the strip, and makes removal or future adjustments impossible. A high-quality foam tape is a far better and safer choice.
4. How do I keep LED strips from falling off in hot places (like kitchens or outdoors)?
Heat softens most adhesives. Use a heat-resistant tape (like some VHB grades) or switch to mechanical mounting. Aluminum mounting channels are ideal as they dissipate heat away from the adhesive.
5. My surface is textured. What's the best way to mount lights?
Flat adhesive tapes fail on textured surfaces. Use a thick, conformable foam tape that can fill gaps, or (even better) use mounting clips or aluminum channels screwed directly into the surface for a guaranteed hold.
If you have any questions about the adhesive backing of the light strip or the installation accessories of the light strip, please contact us!