

2025-11-14
What Else Can LED Light Strips Be Used For? Try These 10 Creative DIY Ideas
What Else Can LED Light Strips Be Used For? Try These 10 Creative DIY Ideas
LED strip lights are incredibly versatile, moving far beyond basic under-cabinet lighting. If you're looking for creative uses for LED lights or wondering what to do with LED strips, you've come to the right place. This guide will show you 10 brilliant DIY LED ideas that will transform your home, from functional solutions to purely artistic statements. Let's explore the amazing potential of LED strip projects!
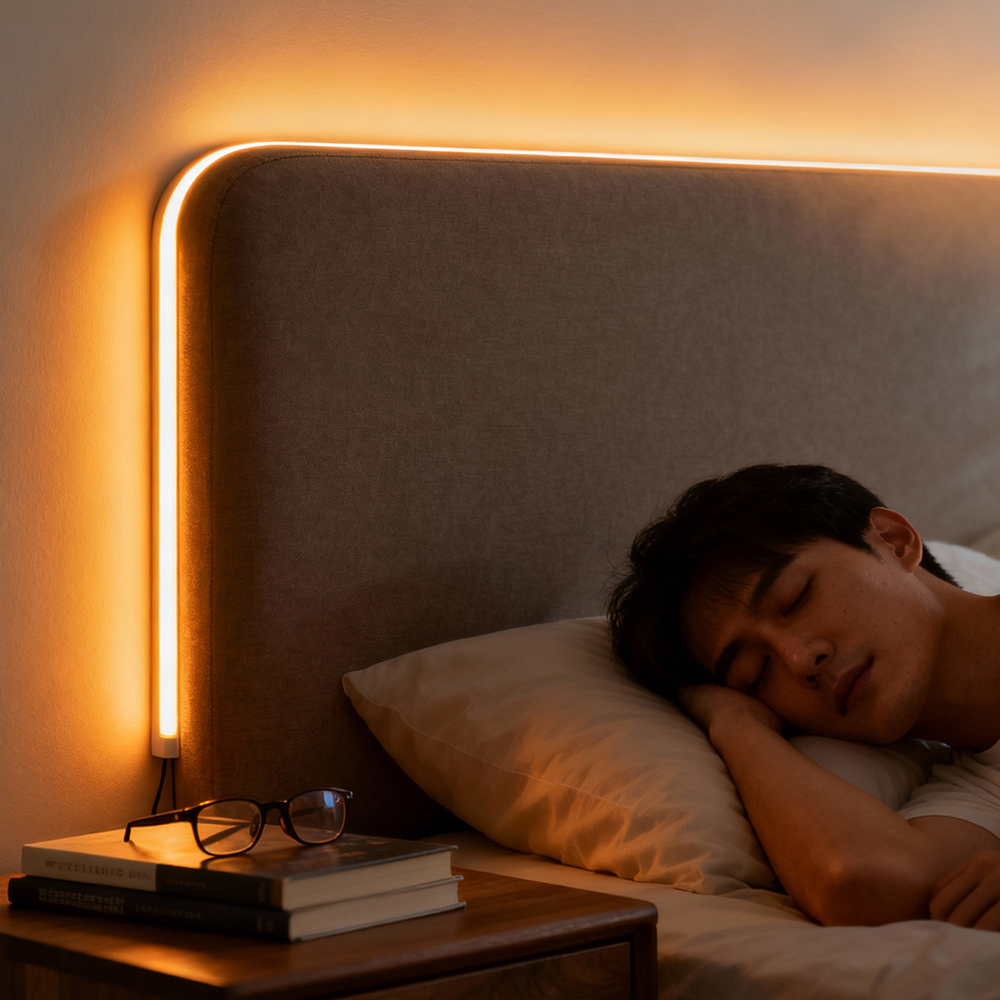
1. Tired of Basic Lighting? How Can You Create a Sunrise Alarm Clock with LED Strips?
Instead of waking up to a jarring alarm, imagine being gently roused by a simulated sunrise. This DIY wake-up light project uses smart color-changing LED strips to ease you into your day.
Implementation Tips:
Use smart WiFi or Bluetooth-enabled LED strips placed behind your headboard. Through the companion app, program the lights to gradually brighten from a warm amber to a soft white over 30 minutes. This bedroom LED idea helps regulate your circadian rhythm naturally. For best results, choose strips with high color accuracy for the most realistic sunrise effect.

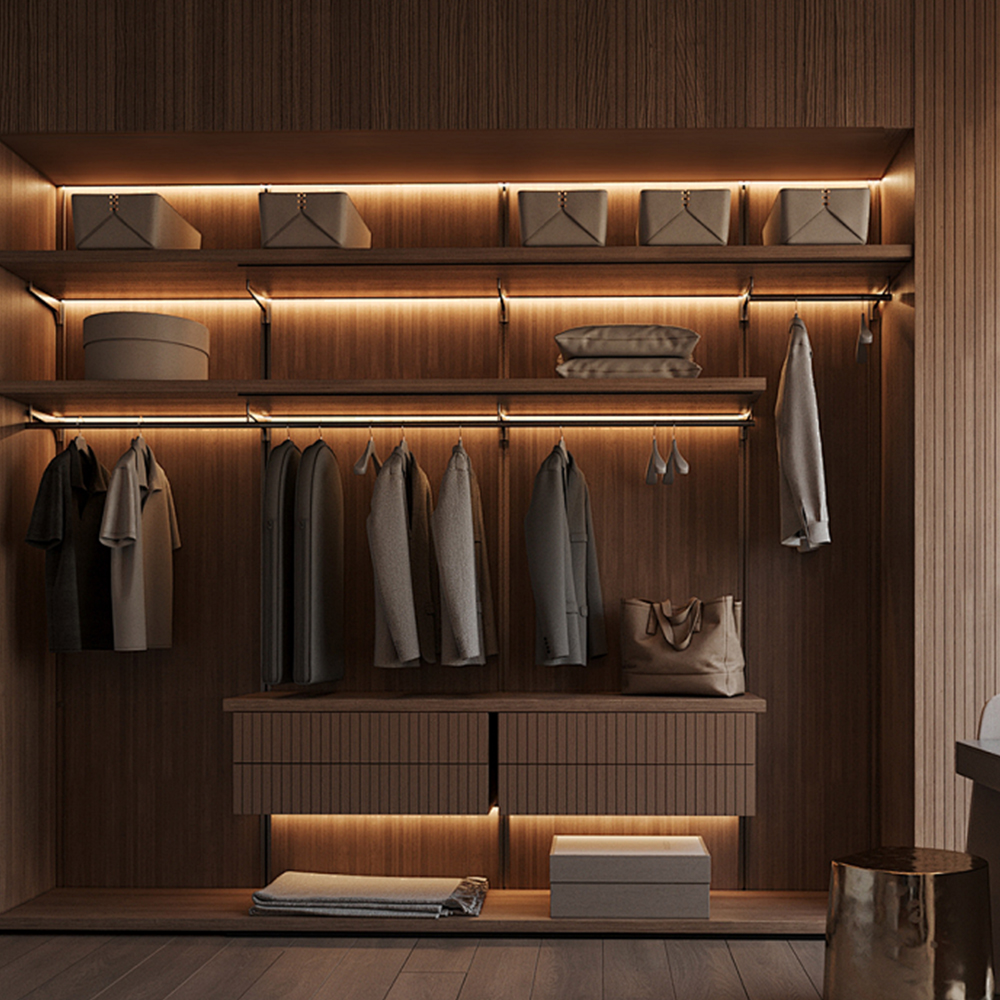
2. Need Better Closet Organization? How About Motion-Activated LED Closet Lighting?
Transform your dark closet into a luxuriously lit space with this practical LED strip closet lighting project. It's one of the most functional smart home LED projects you can implement.
Implementation Tips:
Install battery-powered LED strips along closet shelves or hanging rods. Connect them to a simple magnetic contact switch that activates when the door opens. This easy DIY lighting solution eliminates fumbling in dark closets while making your clothing colors appear more vibrant. For walk-in closets, consider hardwired strips with a wall switch.

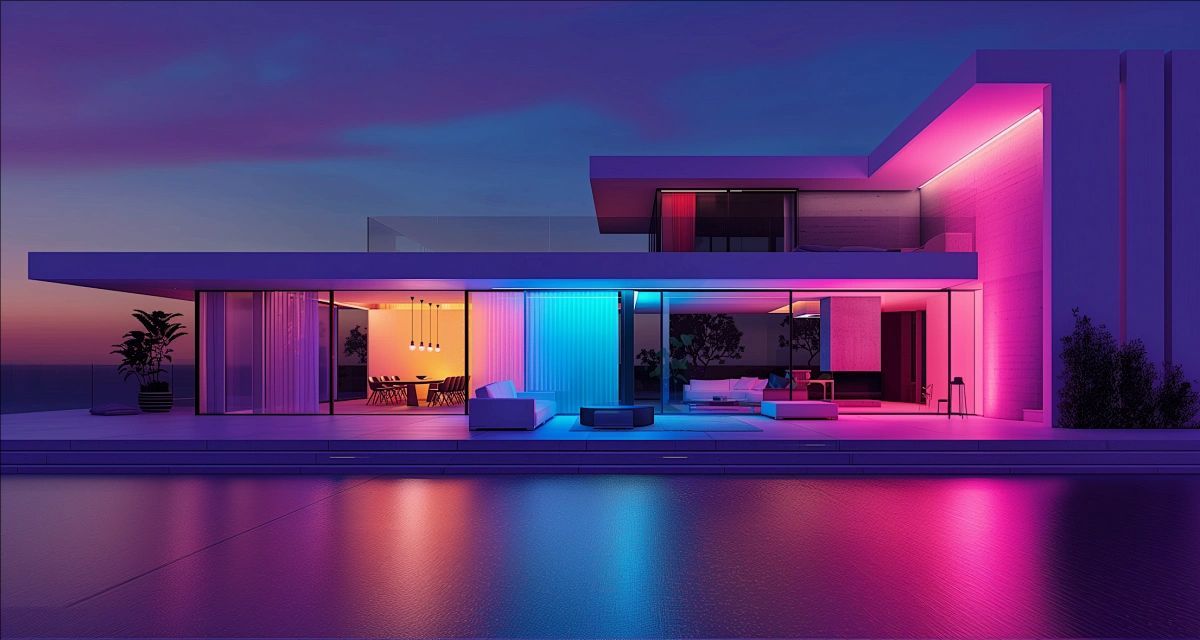
3. Want Interactive Home Art? Can You Build Sound-Reactive Wall Lights?
Turn any blank wall into a dynamic art installation with this reactive wall art DIY project. It's perfect for home theaters, gaming rooms, or living areas where you entertain.
Implementation Tips:
This advanced but rewarding project requires addressable RGB LED strips, an LED controller, and a sound sensor. Program the lights to pulse with music beats or create visualizer patterns. While it requires some technical knowledge, numerous online tutorials make this creative LED strip project accessible to dedicated DIYers.
4. Struggling with Eye Strain? Why Not Add Bias Lighting to Your Home Office?
Combat digital eye strain while enhancing your workspace aesthetics with this bias lighting for monitor project. It's one of the most beneficial home office lighting upgrades you can make.
Implementation Tips:
Apply high-CRI white LED strips to the back of your computer monitor. This creates a soft glow that reduces contrast between your bright screen and dark environment. For optimal results, choose strips with a color temperature matching your screen's white balance. This easy DIY lighting solution makes marathon work sessions much more comfortable.

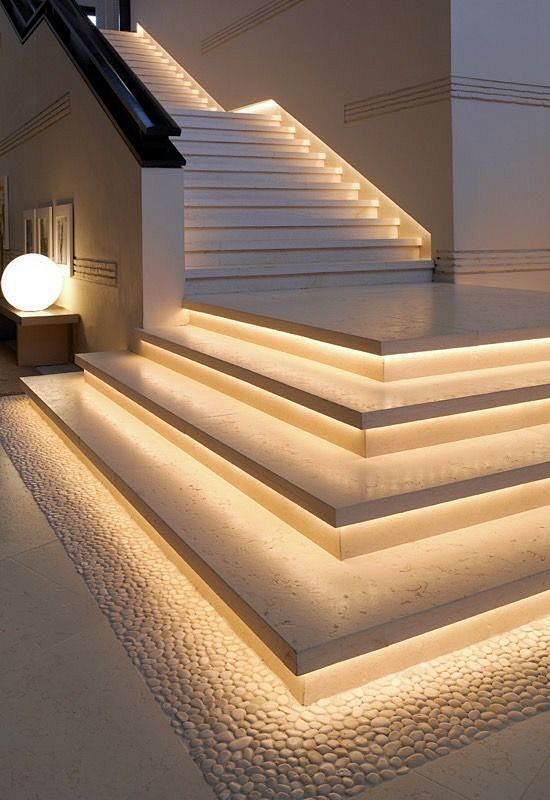
5. Have Dark Stairs at Night? How Do You Install Motion-Activated Stair Lighting?
Increase safety while adding architectural drama with stair lighting with LEDs. This practical solution illuminates steps automatically when motion is detected.
Implementation Tips:
Install warm white LED strips along stair risers or under handrails. Connect them to a motion sensor positioned to detect approach after dark. This smart lighting project prevents nighttime stumbles while creating a beautiful guiding path. For outdoor steps, ensure you use weatherproof IP67-rated strips.

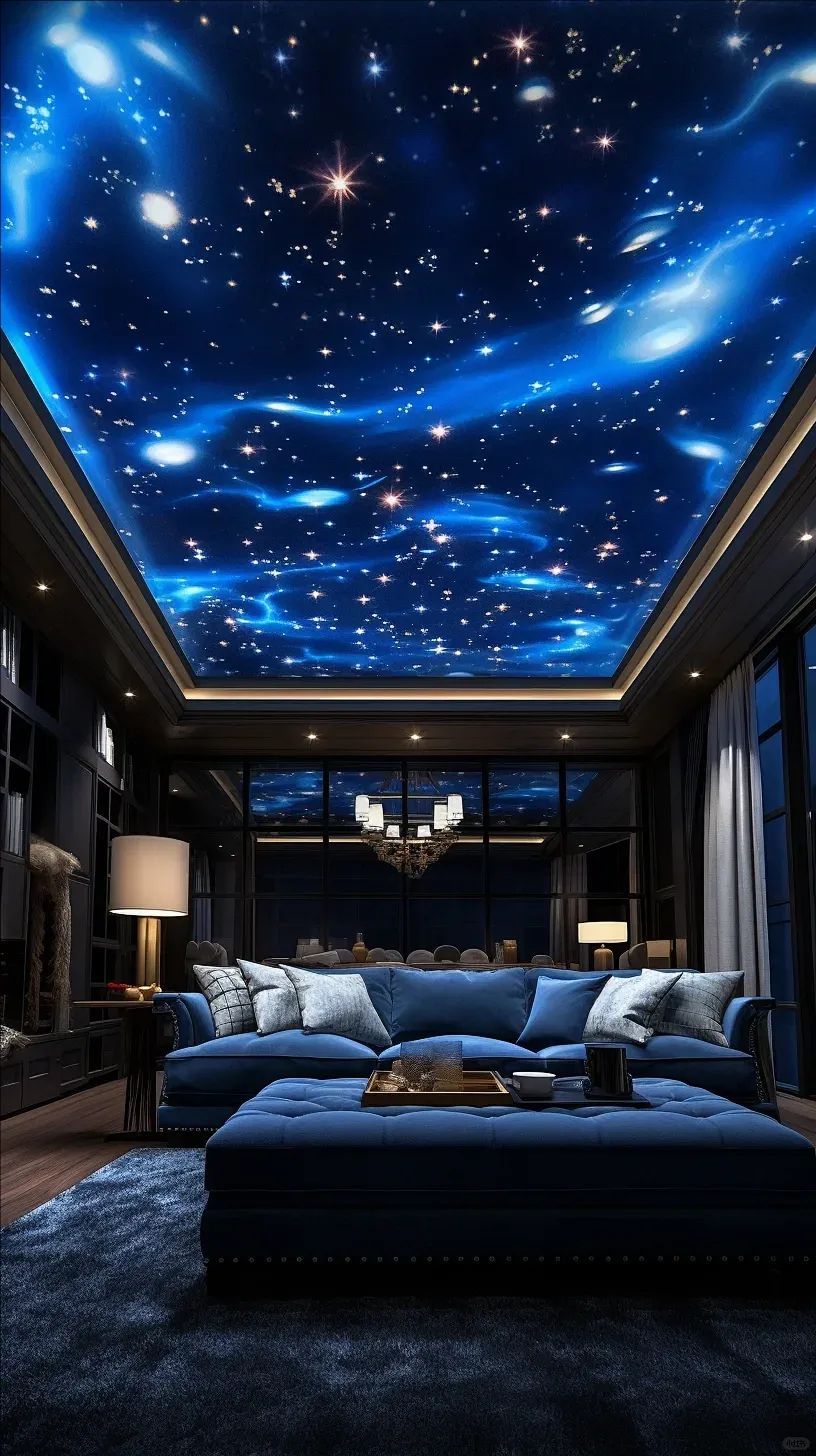
6. Dream of a Celestial Bedroom? Can You Create a Starry Ceiling with LED Strips?
Bring the magic of a starry night indoors with this breathtaking fiber optic star ceiling project. It creates the perfect relaxing atmosphere for bedrooms or meditation spaces.
Implementation Tips:
Use a bright white LED strip as the light source for fiber optic cables running through your ceiling. The fiber ends twinkle like genuine stars, creating a mesmerizing overhead display. For added drama, use a color-changing LED source to simulate nebula effects in deep blues and purples.

7. Want a Stunning Kitchen Upgrade? How About LED Kitchen Island Lighting?
Elevate your kitchen's design with elegant kitchen island lighting ideas using LED strips. This project adds both task lighting and dramatic ambiance to your cooking space.
Implementation Tips:
Install LED strips under your kitchen island's countertop overhang to create a floating effect. Use aluminum channels with diffusers for a professional, seamless look. For glass cabinetry, add strips along the top to beautifully illuminate your dishware displays.


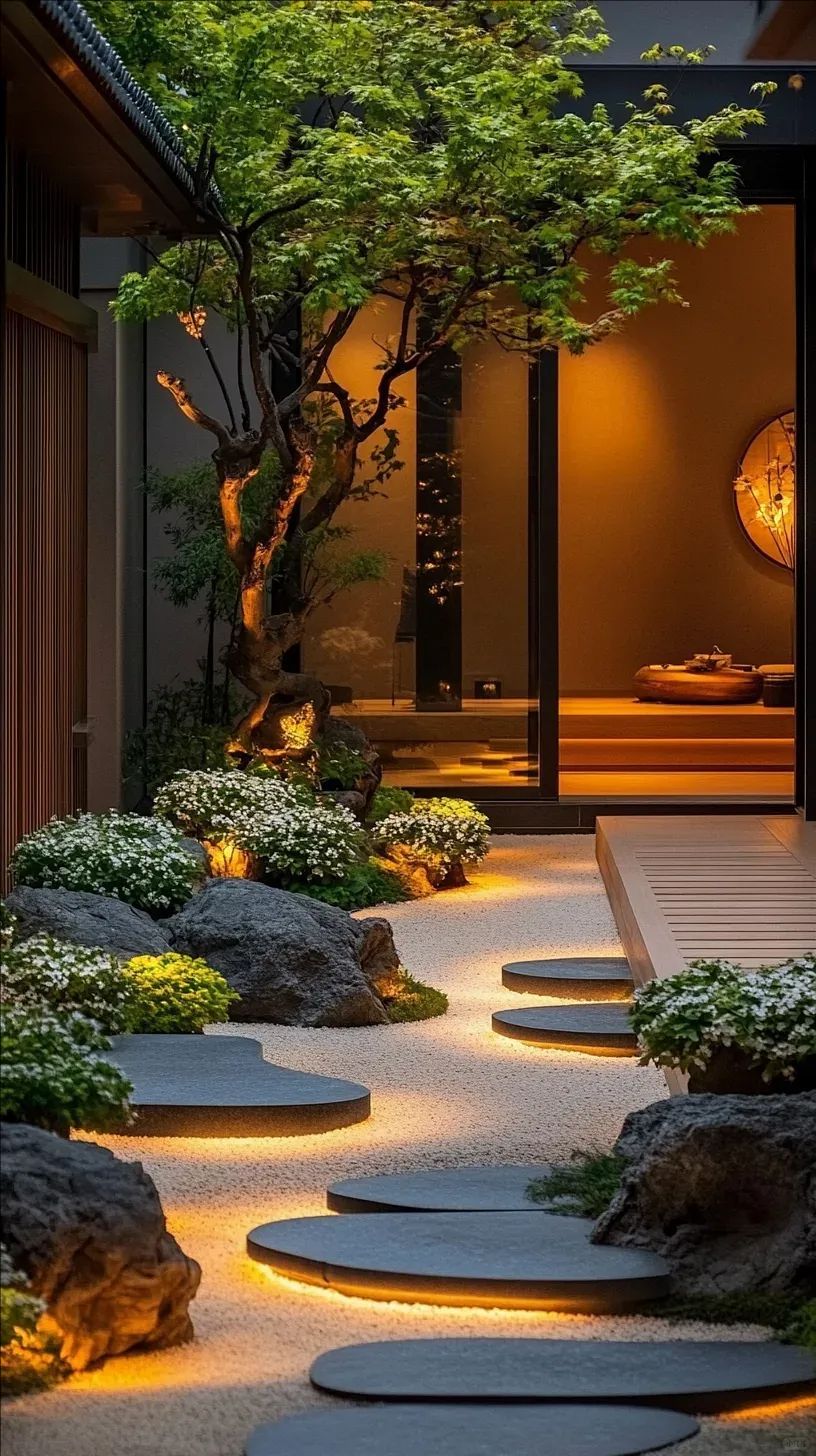
8. Need Outdoor Lighting Solutions? How About Weatherproof LED Path Lights?
Create a safely illuminated and inviting outdoor space with outdoor LED path lights. This project provides consistent, reliable lighting without complex wiring.
Implementation Tips:
Use IP67-rated waterproof LED strips in aluminum channels along garden paths or deck steps. Connect them to a low-voltage outdoor transformer for safe operation. These outdoor lighting solutions offer more reliable performance than individual solar lights while providing continuous illumination.

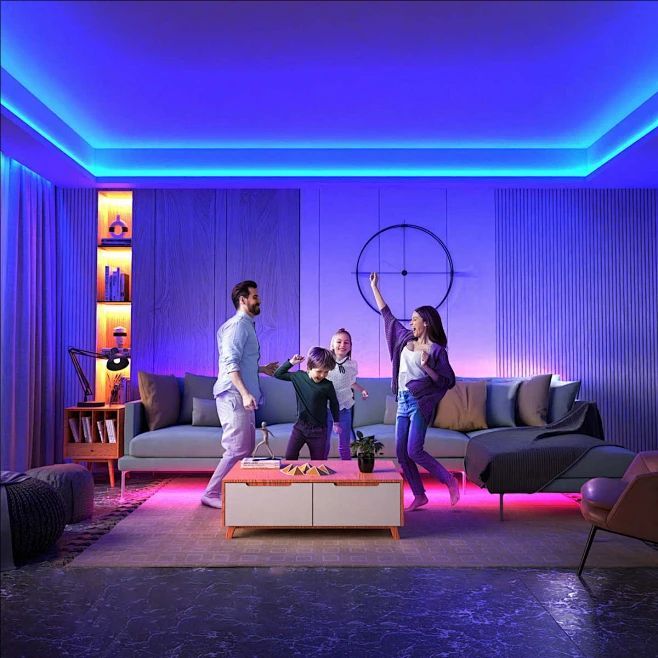
9. Want an Immersive Gaming Setup? How to Sync LED Strips with Your Screen?
Take your entertainment to the next level with synchronized gaming room LED lights. This project extends your screen's colors onto surrounding walls for incredible immersion.
Implementation Tips:
Apply addressable RGBIC LED strips to the back of your TV or monitor. Use synchronization systems like Philips Hue Play or software solutions like ScreenBloom to match the lighting to your content. Whether gaming or watching movies, this setup creates an unparalleled color changing lights experience.

10. Looking to Display Collections? How to Make Museum-Style Display Lighting?
Showcase your favorite items with professional-grade DIY display lighting using LED strips. This project turns ordinary shelves into curated exhibits.
Implementation Tips:
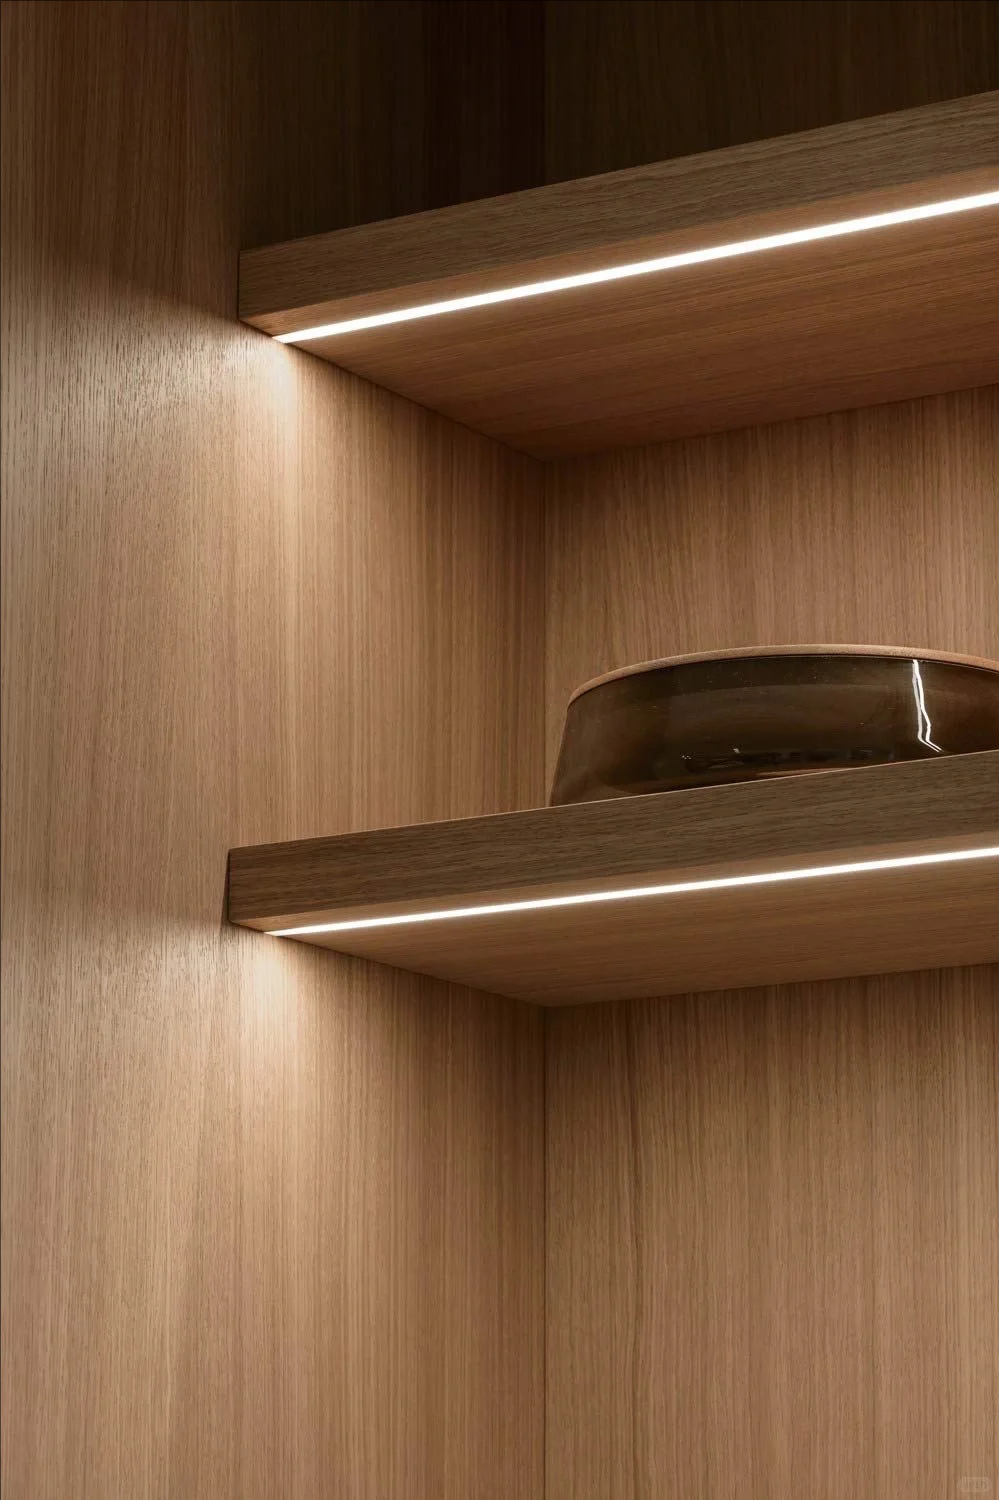
Install discreet LED tape lights along the front edge of shelves, pointing backward to evenly illuminate displayed items. For glass cabinets, place strips at the top front to wash light downward over contents. This easy DIY approach gives any collection gallery-quality presentation.

Start Your LED Strip Project Today
As you can see, the possibilities for creative uses for LED lights are nearly endless. From practical LED strip closet lighting to artistic reactive wall art DIY projects, these versatile lights can transform any space. The best part? Most of these DIY LED ideas require minimal technical skills and investment.
Ready to begin your LED journey?
Start with the project that most excited you, and don't be afraid to experiment. With these LED strip projects, you're not just installing lights—you're creating experiences that will enhance your home for years to come.
If you have any questions about the LED Strip product, please feel free to contact us at any time.

FAQ
1. Q: What type of LED strip is best for DIY beginners?
A: For beginners, we recommend starting with standard RGB LED strips that come with a simple infrared or RF remote control. They are plug-and-play, requiring no complex programming. If you want to step up slightly for smart features, WiFi-enabled LED strips (like those from brands like Govee or TP-Link Kasa) are a great choice. They can be controlled via a smartphone app for scheduling and color changing, but still don't require advanced wiring or coding, making them perfect for easy DIY lighting projects like closet lighting or bias lighting.
2. Q: Can I cut LED light strips to fit my project, and how do I do it?
A: Yes, absolutely! Most LED strips are designed to be cut to custom lengths. Look for the small scissor icon or a copper contact pad along the strip—this is the designated cutting point. Always cut only on these marked lines to avoid damaging the strip. After cutting, you will need a specific connector or some soldering skills to re-attach the strip to a power source or to another segment. This feature makes them incredibly versatile for custom LED strip projects of any size.
3. Q: How do I power my LED strip projects, especially outdoors or away from outlets?
A: For most indoor projects near an outlet, a standard plug-in power adapter is the simplest solution. For projects away from outlets, like a smart closet lighting, a large-capacity battery pack (like a USB power bank) can be a great portable power source. For permanent outdoor LED path lights, you'll need a low-voltage outdoor transformer that connects to your home's electricity and is rated for safe outdoor use. Always ensure your power source's voltage (e.g., 12V, 24V) matches your LED strips.
4. Q: What's the difference between regular RGB and "addressable" RGB LED strips?
A: This is a key distinction for advanced projects. Regular RGB strips treat the entire strip as one unit; all LEDs display the same color at the same time. Addressable RGB strips (like WS2812B), however, have chips on each individual LED, allowing you to control the color and behavior of each LED separately through a microcontroller (like Arduino). This is what makes complex animations, reactive wall art DIY, and detailed music visualizers possible.
5. Q: Are LED strips safe to use indoors and on various surfaces like wood or walls?
A: LED strips are generally very safe for indoor use as they run on low voltage and produce minimal heat compared to incandescent bulbs. However, for safety and surface protection:
Use a Diffuser Channel: For projects on wood or walls, installing the strips in an aluminum channel with a diffuser cover is highly recommended. It protects the strips, prevents visible light dots, and dissipates the minimal heat they generate.
Check Adhesive Quality: The built-in adhesive can sometimes fail. For a more permanent installation, use additional mounting clips or high-quality double-sided tape.
Avoid Water Exposure: Only use strips with a suitable IP rating (e.g., IP65, IP67) for damp locations like kitchens or bathrooms, and never use non-waterproof strips outdoors.