2025-12-26
How to Illuminate Your Garden Oasis?
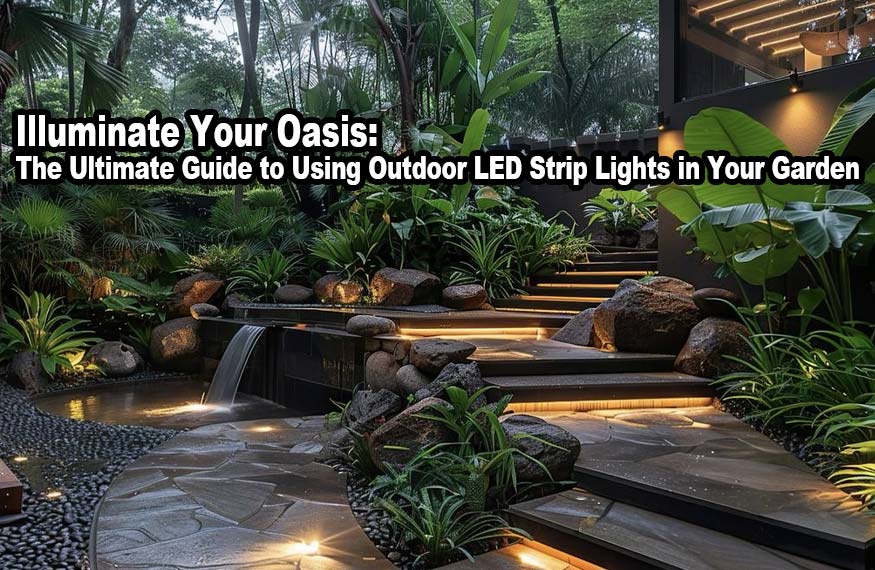
Illuminate Your Oasis: The Ultimate Guide to Using Outdoor LED Strip Lights in Your Garden
Imagine stepping into your backyard as the sun dips below the horizon. The familiar shapes of your flower beds and pathways are softened by the gathering dusk. But then, a gentle, magical glow emerges—not harsh or glaring, but a soft, ethereal light that traces the edges of your world, highlighting textures, creating depth, and transforming your garden into a serene, inviting sanctuary. This is the power of outdoor LED strip lights.
For decades, garden lighting was often an afterthought, limited to a single, functional porch light or a few solar-powered stake lights that flickered out by midnight. Today, however, outdoor LED strip lighting has revolutionized the way we interact with our outdoor spaces after dark. It’s no longer just about visibility; it’s about artistry, ambiance, and extending the usability of your garden long into the night.
Part 1: Choosing the Right Outdoor LED Strip Lights
Part 2: Creative and Practical Garden Lighting Ideas
Part 3: Your Step-by-Step Installation Guide
Part 4: Maintenance, Troubleshooting, and Long-Term Care
Conclusion: Your Garden, Reimagined
FAQ
Part 2: Creative and Practical Garden Lighting Ideas
Part 3: Your Step-by-Step Installation Guide
Part 4: Maintenance, Troubleshooting, and Long-Term Care
Conclusion: Your Garden, Reimagined
FAQ
Part 1: Choosing the Right Outdoor LED Strip Lights
Before you can create your illuminated paradise, you must lay the right foundation by selecting the perfect lighting system. Not all LED strips are created equal, especially for the demanding environment of an outdoor garden. Here’s your essential buyer’s checklist.
1. The Non-Negotiable: IP Rating
The single most critical factor for any outdoor electrical component is its Ingress Protection (IP) rating. This two-digit code tells you exactly how well the product is sealed against solid objects (like dust) and liquids (like rain). For outdoor use, you cannot compromise.
-
IP65: This is the minimum acceptable rating for outdoor use. It offers complete protection against dust and low-pressure water jets from any direction. This is suitable for areas that are sheltered from direct, heavy rainfall, such as under a covered patio, inside a soffit, or on a deck’s underside.
-
IP67: A significant step up. It provides all the benefits of IP65 and adds protection against temporary immersion in water (up to 1 meter for 30 minutes). This is the sweet spot for most garden applications. It can handle rain, splashes from a sprinkler, and even accidental flooding from a heavy downpour.
-
IP68: The highest standard. This rating means the product is suitable for continuous submersion in water beyond 1 meter. While overkill for most garden paths or planters, it’s ideal for underwater fountains, ponds, or any application where the lights will be permanently submerged.
For your garden, always aim for at least IP67. It’s a small investment that pays off massively in longevity and reliability.
2. Understanding Brightness and Color Temperature
The mood of your garden is largely dictated by two key properties of your light: its brightness (measured in lumens) and its color temperature (measured in Kelvin, or K).
-
Brightness: Don’t just look at wattage, as it’s not a direct indicator of light output for LEDs. Instead, check the lumen count per meter or foot. For subtle accent lighting (e.g., under a planter), 300-600 lumens per meter is plenty. For task lighting (e.g., illuminating a pathway for safety), you’ll want 800-1200+ lumens per meter. Remember, you can often control the overall brightness with a compatible dimmer or smart controller.
-
Color Temperature: This is where you set the emotional tone.
-
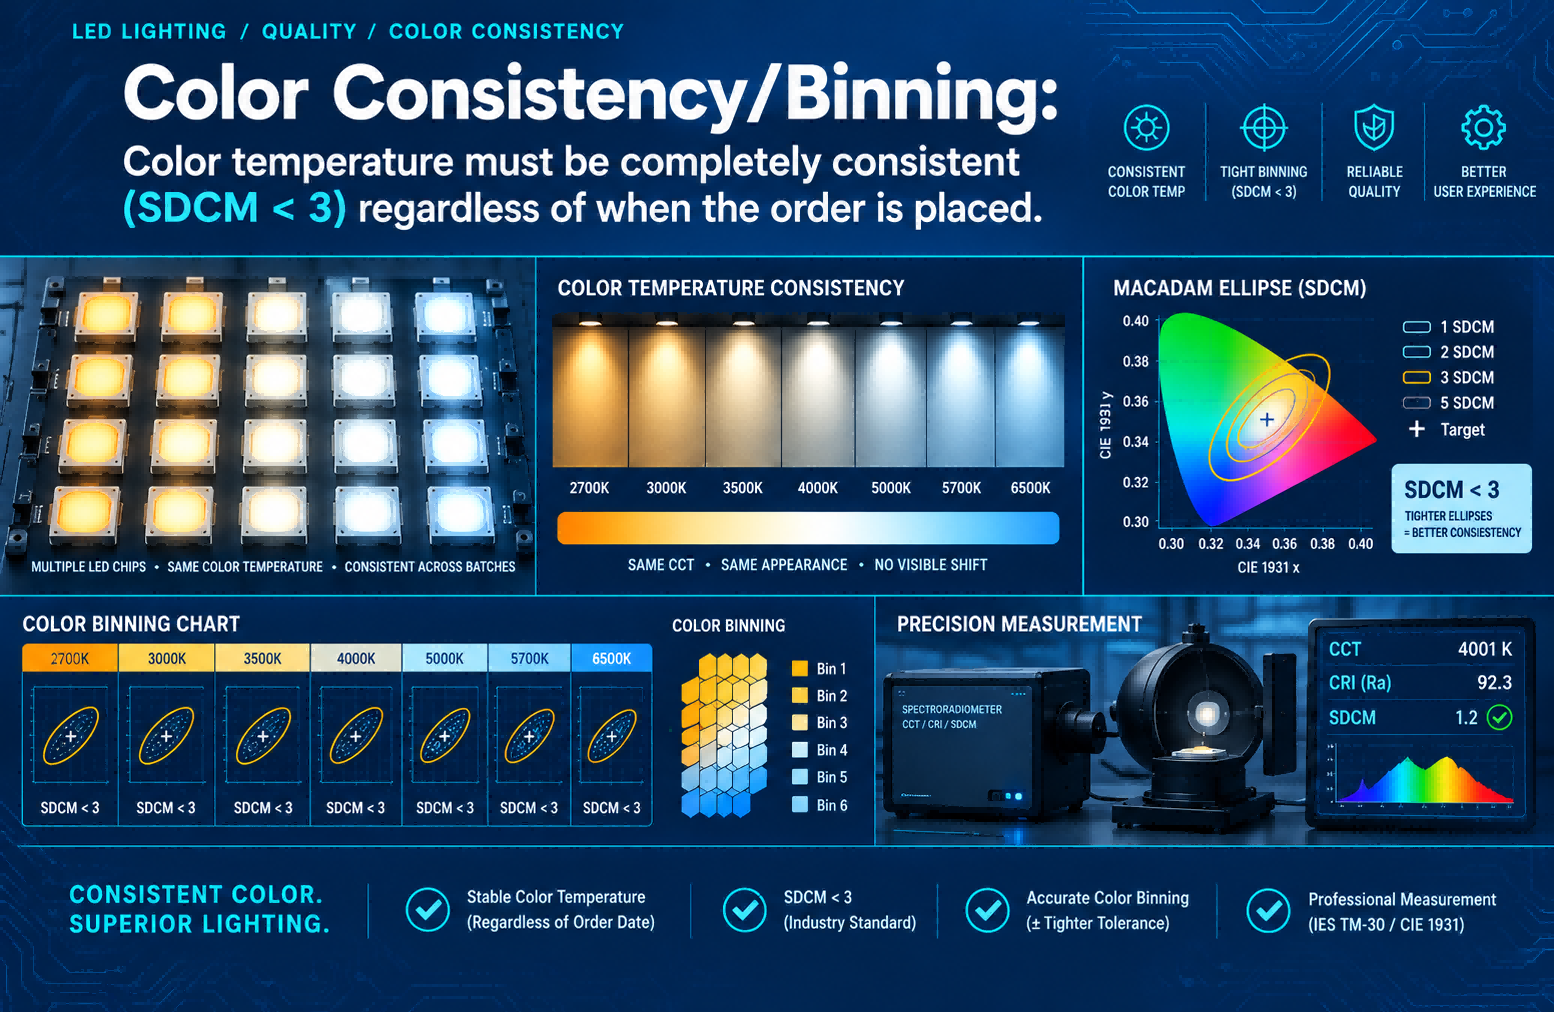
Warm White (2700K-3000K): This is the most popular choice for gardens. It mimics the soft, cozy glow of candlelight or a classic incandescent bulb, creating a welcoming, intimate, and natural atmosphere. It’s perfect for relaxing seating areas and highlighting plants.
-
Neutral/Cool White (4000K-5000K): This is a brighter, crisper, more “daylight-like” white. It’s excellent for security lighting or task-oriented areas like a driveway or a workbench, but it can feel too clinical and harsh for a relaxing garden ambiance.
-
RGB/RGBW: These strips can produce millions of colors and are fantastic for creating dynamic, party-ready effects or special seasonal displays. However, for everyday, year-round garden use, a static warm white often provides a more timeless and elegant look. If you choose RGB, look for RGBW, which adds a dedicated white LED for a much better quality of white light than an RGB strip can create by mixing its colors.
-
3. Voltage: 12V vs. 24V
Most outdoor LED strips operate on low-voltage DC power, either 12V or 24V. Both are safe for outdoor use as they pose no electrocution risk.
-
12V Strips: These are very common and often less expensive. However, they suffer more from voltage drop over longer distances. This means that if your strip run is over 5-6 meters (16-20 feet), the end of the strip will be noticeably dimmer than the beginning.
-
24V Strips: These are superior for longer runs. They can go up to 10-15 meters (33-50 feet) or more before significant voltage drop occurs, ensuring consistent brightness throughout. They are also generally more efficient.
Recommendation: For any serious garden installation that involves runs longer than a few meters, choose 24V. The extra cost for the power supply is a small price to pay for uniform, professional-looking results.
4. The Brain of the Operation: Controllers and Power Supplies
Your LED strip is just a conductor without its support system.
-
Power Supply (Driver): This converts your home’s high-voltage AC power (120V/230V) to the low-voltage DC power (12V/24V) your strip needs. Crucially, your power supply must also be rated for outdoor use (IP67 or higher is ideal) and must be installed in a dry, protected location (like a weatherproof electrical box). It’s essential to calculate your total power needs (strip length x watts per meter) and choose a power supply with at least a 20% buffer to prevent overheating and ensure longevity.
-
Controller: This is your command center. For a simple, static white light, you might just need an on/off switch or a dimmer. For color-changing (RGB/RGBW) or tunable white strips, you’ll need a controller. Options range from simple infrared remotes to sophisticated Wi-Fi or Bluetooth controllers that connect to your smartphone, allowing you to schedule scenes, adjust brightness from your couch, and even integrate with smart home systems like Google Home or Amazon Alexa. For a garden, a weather-resistant controller or one that’s kept indoors but connects wirelessly is a must.
Part 2: Creative and Practical Garden Lighting Ideas
Now that you have the right tools, let your imagination run wild. Here are a dozen inspiring ways to integrate LED strip lights into your outdoor sanctuary.
1. The Enchanted Pathway
A classic and highly functional application. Embed a warm white LED strip into a channel along the edge of your garden path or driveway. You can use an aluminum U-channel for a clean, modern look, or tuck a silicon-jacketed strip directly under the coping of a stone or concrete path. This provides just enough light to illuminate your steps without being blinding, creating a safe and inviting route through your garden at night.

2. Subtle Staircase Safety
Outdoor stairs can be a major hazard in the dark. A discreet line of LED strip lighting on the underside of each stair tread or along the vertical riser provides a perfect safety guide. The light washes down onto the step below, making the edge clearly visible. Use a warm white for a gentle, non-intrusive effect.

3. Planter Perimeter Glow
Transform ordinary planters into radiant focal points. Install a strip of LED lights around the top inner rim of a large planter. The light will spill over the edge, softly illuminating the soil and the base of your plants, creating a beautiful, glowing pedestal for your greenery. For a more dramatic effect in a deep planter, you can also line the bottom.

4. Architectural Highlighting
Your garden isn’t just about plants; it’s about the structures within it. Use strip lights to graze the surface of a textured stone wall, highlight the clean lines of a modern pergola, or outline a beautiful arbor. The technique of “grazing,” where the light is placed very close to the surface, casts dramatic shadows that accentuate every bump and crevice, adding incredible depth and drama.

5. Deck and Patio Underlighting
Create a floating effect for your deck or patio. By mounting the LED strip to the underside of the deck railing or the overhang of your patio, you cast a soft, diffused pool of light onto the floor below. This is perfect for creating a cozy, intimate atmosphere for evening entertaining without the need for overhead lights that can attract insects.
6. Water Feature Wonder
There’s nothing more mesmerizing than a water feature at night. IP68-rated LED strips are perfect for lining the inside edge of a pond, waterfall, or fountain. The light reflects and refracts through the moving water, creating a dynamic, shimmering display that is the ultimate garden centerpiece. Even a simple birdbath can become a stunning sculpture with a ring of underwater light.

7. Hidden Cove Lighting
Tuck a strip of lights into a hidden cove or behind a raised garden bed’s coping. This technique, known as “cove lighting,” creates an indirect, soft, and uniform wash of light that appears to emanate from the structure itself. It’s a sophisticated and modern way to add general ambient light to a seating area without any visible fixtures.

8. Tree and Shrub Silhouetting
For a more dramatic and artistic effect, place a strip light on the ground facing a beautiful tree or large shrub. The light will silhouette the plant against your house or a wall, creating a stunning negative-space image. This is a powerful way to showcase a specimen plant’s unique shape.
9. The Magical Seating Area
Your outdoor seating area is your living room under the stars. Use LED strips to define its boundaries. You can outline the base of your outdoor sofa or loveseat, or install a strip along the underside of a low coffee table. This provides subtle task lighting for your drinks and snacks while adding a layer of modern elegance.

10. A Secret Garden in a Raised Bed
For a truly magical touch, line the inside walls of a deep, elevated raised garden bed with a warm white LED strip. The light will softly illuminate your herbs or flowers from below, creating a secret, glowing garden that’s a delight to tend to even at night. This is especially effective with fragrant night-blooming plants like jasmine.

11. Pergola and Gazebo Ambiance
A pergola or gazebo can feel cavernous and empty at night. Installing LED strips along the top beams or the inside of the roof structure can completely transform the space. You can create a starry-night effect by using a strip with individually addressable LEDs (like WS2812B) or simply a soft, continuous ribbon of light that defines the space and makes it feel cozy and enclosed.

12. The Dramatic “Light Scythe”
This more advanced technique involves mounting a strip light at the base of a wall and angling it sharply upward. The result is a dramatic, linear “blade” of light that cuts through the darkness, perfect for highlighting a single piece of wall art, a dramatic sculpture, or a tall, columnar plant.
Part 3: Your Step-by-Step Installation Guide
Installing outdoor LED strip lights is a manageable DIY project if you follow these key steps. Safety and preparation are paramount.
Step 1: Plan and Design
Before you buy a single component, map out your lighting plan. Sketch your garden and mark exactly where you want your lights. Measure the total length of each run. This will determine how much strip you need and what size power supply to buy. Decide on your desired brightness, color temperature, and whether you need a controller. Always plan for a single, centrally located power supply for each major zone to avoid voltage drop.
Step 2: Assemble Your Toolkit and Materials
You’ll need:
-
Your chosen LED strip lights (IP67 or higher)
-
An outdoor-rated power supply (with 20% power buffer)
-
A controller (if using RGB or tunable white)
-
Weatherproof cable (18/2 or 16/2 gauge is common for low voltage)
-
A soldering iron and solder (or high-quality, outdoor-rated connectors)
-
Wire strippers and cutters
-
A multimeter (to test connections)
-
Mounting channels, clips, or a clean, dry surface for the adhesive
-
A weatherproof electrical enclosure (for your power supply and connections)
Step 3: Prepare the Surface
LED strips have a 3M adhesive backing, but its outdoor longevity is questionable. For a permanent, professional install, clean the mounting surface thoroughly with isopropyl alcohol to remove all dirt, oil, and grease. If you’re using an aluminum mounting channel (highly recommended for both protection and better heat dissipation, which extends LED life), secure the channel first using outdoor-rated screws.
Step 4: Cut and Connect (The Critical Step)
LED strips can only be cut at designated points, usually marked with a scissor icon, every 5-10 cm. Plan your cuts carefully. Now, for the connections:
-
Soldering (Recommended): This is the most reliable, weatherproof, and long-lasting method. Strip the wires, tin the copper pads on the strip and the wire ends, then solder them together. Cover the joint completely with heat-shrink tubing that has a waterproof adhesive lining (dual-wall tubing). This creates a sealed, robust connection.
-
Connectors (Use with Caution): If you must use connectors, choose only those specifically rated for outdoor use and with a silicone gasket. Even then, they are more prone to failure over time due to expansion/contraction and moisture ingress. Seal them inside a small weatherproof junction box if possible.
Step 5: Run the Power Cable
Use a dedicated, outdoor-rated low-voltage cable to run from your power supply to your LED strip’s starting point. Keep the cable runs as short and direct as possible. Bury the cable at least 6 inches deep if it’s in a garden bed, or use a conduit for added protection in high-traffic areas.
Step 6: Install the Power Supply and Controller
Mount your power supply and any controller inside a weatherproof electrical enclosure. This box should be installed in a dry, accessible location—under a porch, in a garage, or attached to an exterior wall in a sheltered spot. Ensure all cable entries into the box are sealed with waterproof gland fittings. Never leave your power supply exposed to the elements.
Step 7: Test and Finalize
Before you seal everything up, connect everything and test your system. Make sure all segments light up correctly, and if you have a controller, that all functions work. Once you’re satisfied, secure the final parts of your strip into the channel or onto the surface, and close up your weatherproof boxes. Your garden of light is now ready to be enjoyed.
Part 4: Maintenance, Troubleshooting, and Long-Term Care
LED strips are designed to be low-maintenance, but a little care goes a long way.
-
Cleaning: Periodically, gently wipe down exposed strips or channels with a soft, damp cloth to remove dust, pollen, and grime that can dim the light output.
-
Inspecting: Once or twice a year, check your connections (if accessible) and the condition of your power supply enclosure for any signs of moisture, corrosion, or pest intrusion.
-
Troubleshooting: If a section of your strip goes out, the most common culprits are a failed connection (check your solder joints or connectors) or the strip being cut at a non-designated point. A multimeter is invaluable for diagnosing these issues.
Conclusion: Your Garden, Reimagined
Outdoor LED strip lighting is far more than a simple utility; it’s a powerful design tool that allows you to sculpt your garden with light, reveal its hidden textures, and create a personal haven that thrives in the quiet hours of the night. By understanding the importance of an IP67+ rating, choosing the perfect warm white ambiance, and following a thoughtful, well-planned installation process, you can create a lighting scheme that is not only breathtakingly beautiful but also resilient and built to last.
From the practical safety of a softly lit pathway to the pure magic of a glowing water feature, the possibilities are limited only by your imagination. So, embrace the darkness, illuminate your world, and step into a garden that is as enchanting after sunset as it is in the full light of day. Your personal, luminous oasis awaits.
FAQ
Are outdoor LED strip lights safe to use around water and plants?
Yes, absolutely. As long as you choose a strip with a proper IP rating (IP67 for rain and splashes, IP68 for full submersion), they are completely safe. The low-voltage (12V/24V) power they operate on poses no risk of electrocution, even in wet conditions. The LEDs also produce very little heat, so they won't harm or dry out your plants.
How long do outdoor LED strip lights last?
High-quality outdoor LED strips have an incredibly long lifespan, typically rated for 30,000 to 50,000 hours of operation. If you use them for an average of 5 hours per night, this translates to 16-27 years of use! The longevity is primarily dependent on using a good quality power supply and ensuring proper heat dissipation, which is why mounting them in an aluminum channel is a great practice.
Can I leave my outdoor LED strip lights on all night?
Technically, yes, due to their low power consumption and long lifespan. However, it’s more eco-friendly and cost-effective to use a timer or a smart controller to schedule them to turn on at dusk and off at a reasonable hour (e.g., midnight or 1 AM). This also reduces light pollution, which is better for the local wildlife and your neighbors.
What’s the difference between a cheap and an expensive outdoor LED strip?
The price difference usually reflects the quality of the components. Expensive strips use higher-grade LED chips (like those from Samsung or Epistar) that provide better, more consistent color and brightness over time. They have superior PCB boards that dissipate heat better, and their silicone or epoxy coatings are more durable against UV degradation and extreme weather. You truly get what you pay for in terms of longevity and performance.
Can I install outdoor LED strip lights myself, or do I need an electrician?
For low-voltage (12V/24V) systems, a DIY installation is perfectly safe and manageable for most homeowners with basic handyman skills. The only part that might warrant a professional is if you need to install a new outdoor electrical outlet or hardwire the power supply into your home’s electrical system. If you’re simply plugging the power supply into an existing GFCI-protected outdoor outlet, you can do the entire project yourself by following proper safety and installation guidelines.